
Color grading can make or break your video content. A well-graded clip looks cinematic and polished; a poorly graded one looks like it was shot on a security camera. If you've been searching for a DaVinci Resolve color grading tutorial, you're already making a smart move, Resolve is the same tool used in Hollywood post-production, and it's free to download.
At SocialRevver, color grading is a core part of our AI-supported editing pipeline for short-form content. Every video we produce for founders, creators, and business owners goes through professional color work because it directly impacts how audiences perceive authority and quality. We've seen firsthand how proper grading boosts watch time and engagement across platforms.
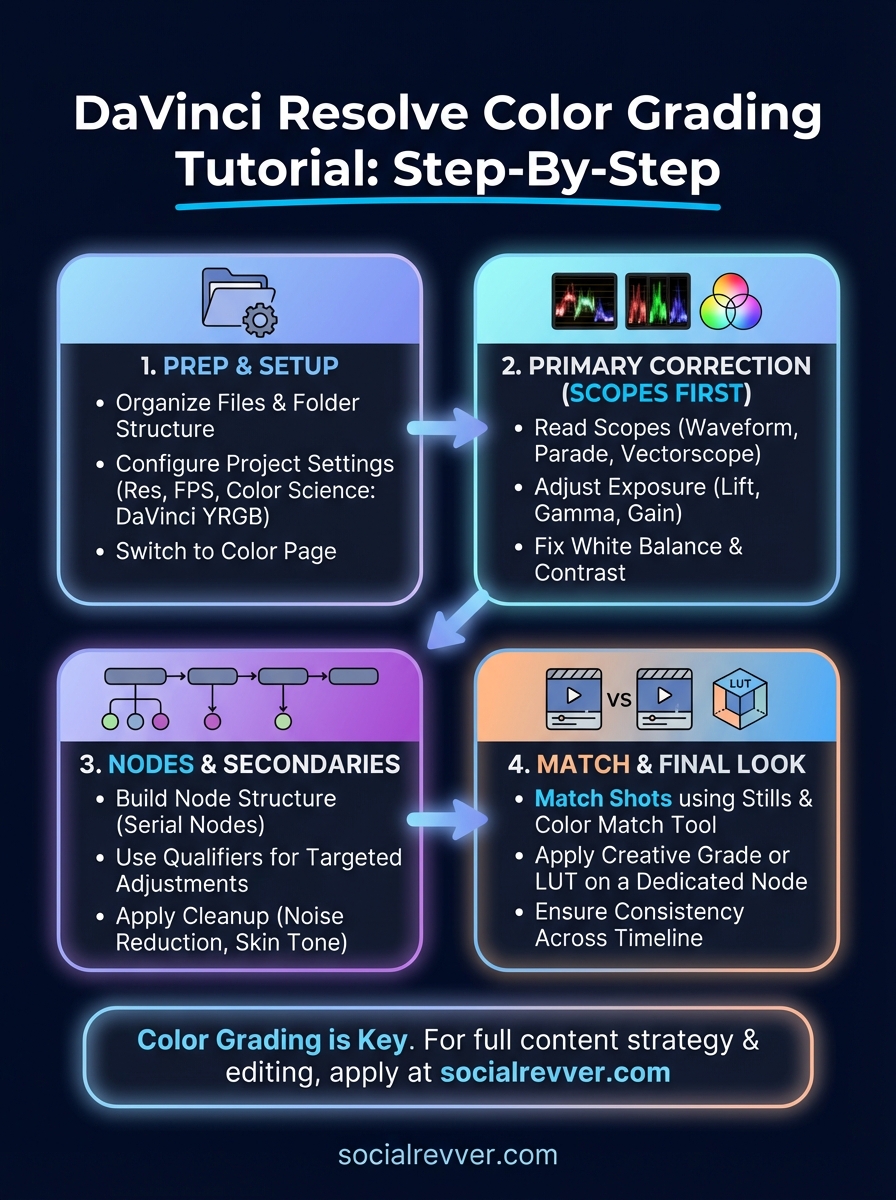
This guide walks you through the entire color grading process in DaVinci Resolve, step by step. You'll learn color correction fundamentals, how to use scopes, work with nodes, and apply creative grades that give your footage a professional look. No prior experience required, just Resolve installed and footage ready to go.
What you need before you start
Before you open DaVinci Resolve and start any color work, you need to make sure your setup is solid. Skipping this step is the fastest way to end up with slow renders, broken timelines, and wasted hours. A few minutes of proper preparation saves you major headaches once you're deep into the grade.
Hardware and software requirements
DaVinci Resolve runs on Windows, macOS, and Linux. The free version covers everything you need for this tutorial, including full access to the Color page, scopes, and node-based grading. You don't need Resolve Studio unless you want premium features like temporal noise reduction or 3D tools. Download it directly from Blackmagic Design's official website at no cost.
Your hardware matters more than most people expect. Color grading is GPU-intensive, so a dedicated graphics card (NVIDIA or AMD) with at least 4GB of VRAM keeps the interface responsive. If you're working on a laptop with integrated graphics, expect slower performance when scrubbing through footage.
| Component | Minimum | Recommended |
|---|---|---|
| RAM | 16GB | 32GB |
| GPU VRAM | 4GB | 8GB+ |
| Storage | HDD | SSD or NVMe |
| OS | Windows 10 / macOS 11 | Latest version |
If your system is underpowered, enable proxy media inside Resolve to edit and grade at a lower resolution, then render at full quality when you're done.
Footage and file organization
Before you load anything into Resolve, organize your files into a clear folder structure. A messy file system causes Resolve to lose media links, which breaks your timeline mid-project. Here's a simple structure that works for most short-form video projects:
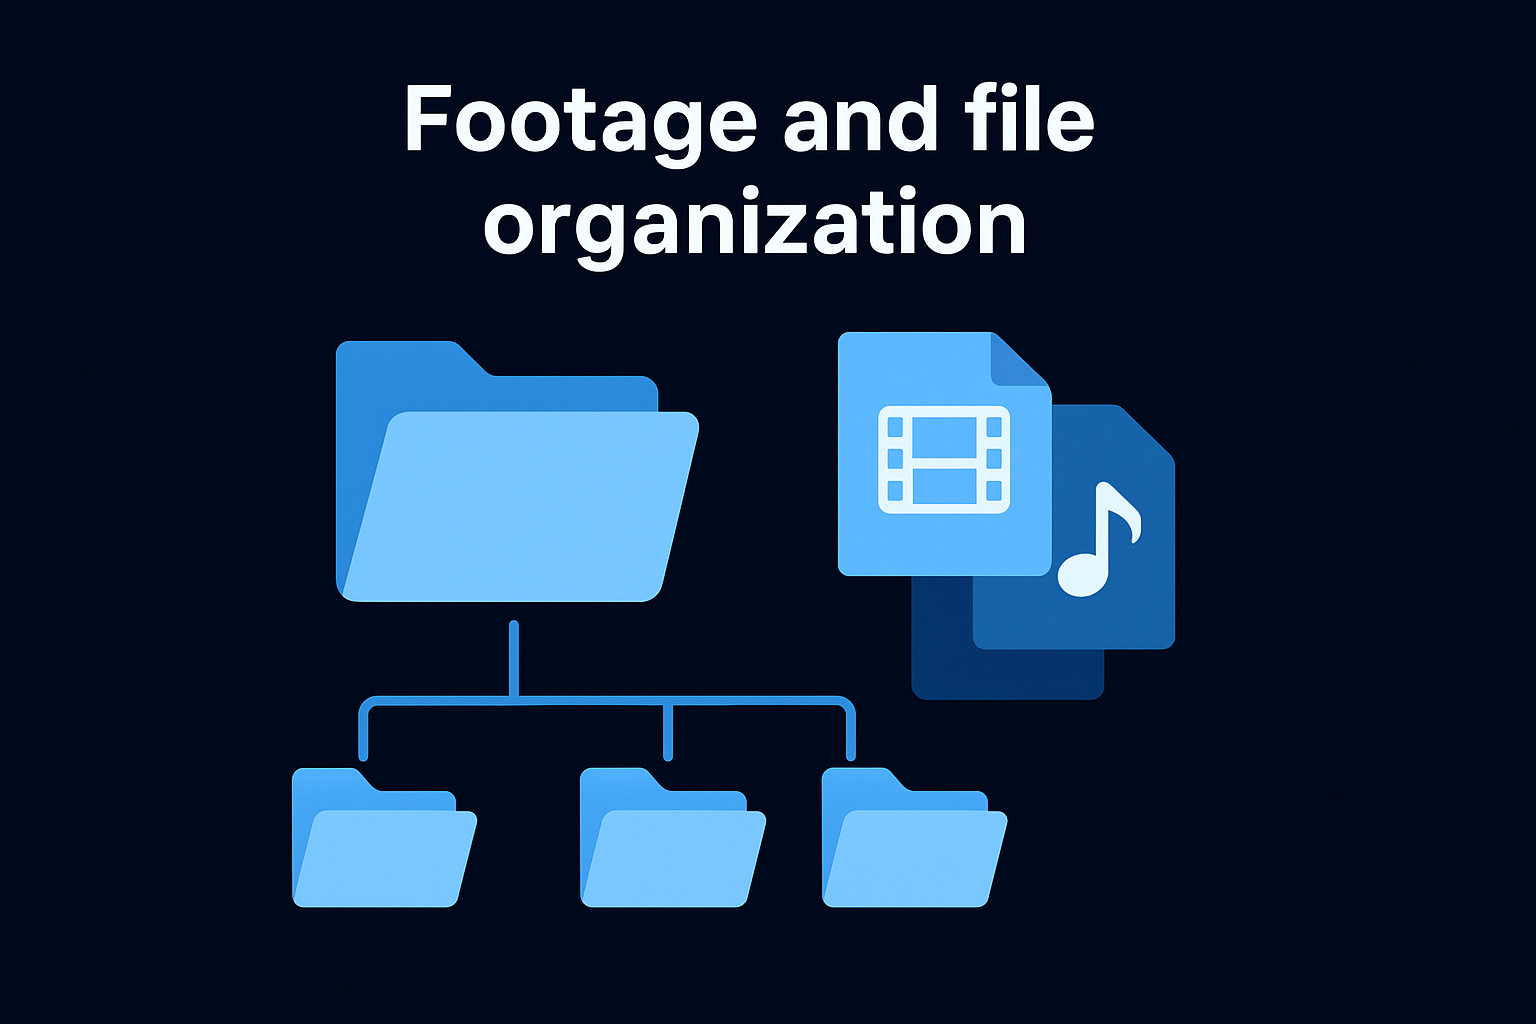
Project_Name/
├── Footage/
│   └── Raw/
├── Audio/
├── Graphics/
├── Exports/
└── Resolve_Project/
Your footage format also directly affects how smoothly this DaVinci Resolve color grading tutorial goes. Formats like H.264 and H.265 are heavily compressed and can slow down the grading process on older hardware. If your camera shoots in a flat or log color profile (S-Log, V-Log, or Canon Log), keep your clips in that profile when you import them. You'll apply a correction later that gives you far more control over the final look.
Keep all clips in a single source folder before importing. Resolve stores file paths based on where you first linked the media, so moving files after import forces you to relink everything manually, which interrupts your workflow.
Step 1. Set up your project and color page
Once your files are organized, open DaVinci Resolve and click New Project in the Project Manager. Name it clearly, something like "ClientBrand_Episode01," so you can find it instantly later. Getting your project settings right from the start prevents color inconsistencies and export issues down the line.
Configure your timeline and color science
Go to File > Project Settings and set your timeline resolution and frame rate to match your source footage. If you shot in 4K at 24fps, your timeline should reflect that exactly. Under the Color Management tab, set your color science to DaVinci YRGB for standard footage, or DaVinci YRGB Color Managed if you're working with multiple camera formats and want Resolve to handle the transform automatically.
If your footage was shot in a log profile like S-Log3 or V-Log, switch the Color Science to "DaVinci YRGB Color Managed" and assign the correct input color space for each clip in the Media Pool.
- Timeline Resolution: match your source (e.g., 3840x2160 for 4K)
- Frame Rate: match your camera's capture rate exactly
- Color Science: DaVinci YRGB for most standard projects
- Optimized Media: enable if your system struggles with playback
Switch to the Color page
Import your footage into the Media Pool by dragging your clips directly from your organized folder. Drag them onto the timeline in the Edit page, then click the Color tab at the bottom of the screen. The icon looks like a small color wheel. This opens the full grading environment where the rest of this DaVinci Resolve color grading tutorial takes place. Your timeline clips appear as thumbnails across the bottom, your viewer sits in the center, and your node graph and color wheels load below it.
Step 2. Do a primary correction with scopes
Primary correction is the foundation of every professional grade. Before you touch a single slider, your job is to fix the technical problems in the image, not create a look. Exposure that clips whites, muddy blacks, or a green color cast will all undermine every creative decision you make afterward. Resolve gives you powerful built-in scopes that show you exactly what the signal looks like, removing all guesswork from the process.
Read your scopes before touching anything
Open your scopes by clicking View > Scopes or pressing Shift+Ctrl+W on Windows. You'll use three main displays: the Waveform, the Parade, and the Vectorscope. The Waveform shows luminance across the frame from left to right. The Parade separates the red, green, and blue channels so you can spot color casts immediately. The Vectorscope shows where your colors sit on the color wheel.
If your Parade shows one channel sitting higher than the others on a neutral surface like a white wall or gray card, that channel is pushing a color cast into your entire image.
- Waveform: reads brightness; keep signal between 0 and 100 IRE to avoid clipping
- Parade: identifies channel imbalance; all three bars should align evenly on neutral tones
- Vectorscope: confirms white balance; skin tones should follow the skin tone indicator line
Adjust exposure, white balance, and contrast
With your scopes open, use the Lift, Gamma, and Gain wheels in the Color Wheels panel to make corrections. Lift controls shadows, Gamma controls midtones, and Gain controls highlights. Drag Gain down if whites clip above 100 IRE on the Waveform. For white balance, use the Primaries Bars to neutralize any cast you spotted in the Parade.
Work through [every clip systematically](https://socialrevver.com/blog/final-cut-pro-tutorial) in this DaVinci Resolve color grading tutorial before moving to any secondary corrections. A clean primary grade makes every step that follows easier and more precise.
Step 3. Use nodes for secondaries and cleanup
Nodes are the feature that separates DaVinci Resolve from every other editing tool. Each node works like a separate layer of color processing, and they stack in sequence so changes in one node feed into the next. Your primary correction from Step 2 should live on Node 01. From this point forward, you add new nodes for every distinct adjustment to keep your grade clean and reversible.
Build your node structure
Right-click on your existing node and select Add Node > Add Serial to create a second node downstream. A serial node passes the image signal forward, which is exactly what you want for stacked adjustments. Label every node by right-clicking and choosing Node Label so you always know what each one does. Here's a simple node structure that works well for most short-form content:
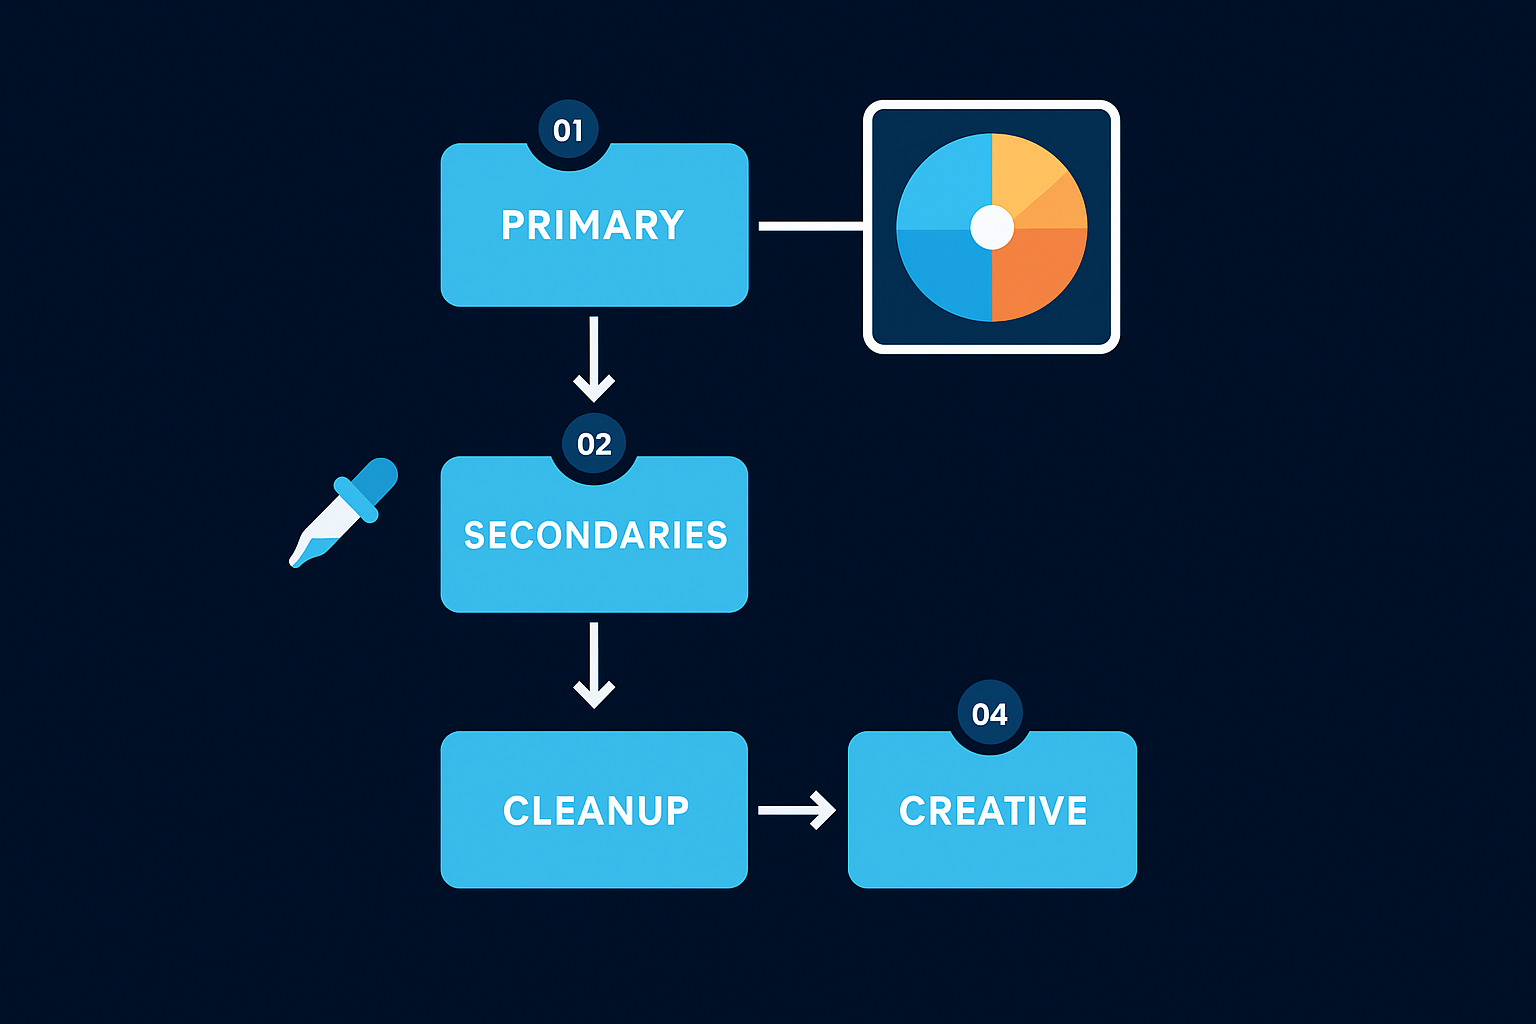
| Node | Label | Purpose |
|---|---|---|
| 01 | Primary | Exposure, white balance, contrast |
| 02 | Secondaries | Targeted color shifts |
| 03 | Cleanup | Noise reduction, skin tone refinement |
| 04 | Creative | Final look or LUT application |
Target specific colors and regions
On Node 02, use the Qualifier tool (the eyedropper icon) to isolate a specific color range, like desaturating a distracting background element or shifting the hue of sky without touching the rest of the frame. Click the eyedropper, sample the color in your viewer, then apply your adjustment. Only the selected color range will change.
Enable the Highlight mode in the Qualifier to see exactly which pixels you've selected before you make any adjustments.
Node 03 handles cleanup work. In this DaVinci Resolve color grading tutorial, use the Noise Reduction panel under Motion Effects to reduce digital grain on high-ISO footage without losing edge detail. Keep Luma Threshold low to preserve texture while smoothing out noise in flat areas like skin and sky.
Step 4. Match shots and build a final look
Once your individual clips are corrected and cleaned up, the next job is consistency across your entire timeline. Even if you've graded every clip carefully, subtle differences in exposure or color temperature between shots will make your edit feel choppy and unprofessional. Shot matching removes those inconsistencies so your finished video holds together visually from the first frame to the last.
Match shots using stills and the Color Match tool
Right-click on any graded clip in the thumbnail strip at the bottom of the Color page and select "Grab Still" to save that grade as a reference. When you move to an adjacent clip that looks slightly off, open the Gallery panel, right-click your saved still, and choose Apply Grade to copy the correction as a starting point. From there, use the Color Match feature under the Color dropdown menu to let Resolve analyze both clips automatically. Select your reference frame in the viewer, click Match, and Resolve adjusts the target clip's Lift, Gamma, and Gain values to align with the reference.
Use shot matching before you apply any creative look, so you're locking in a consistent technical base rather than trying to match clips that already have stylized grades applied.
Build your final look with a LUT or manual grade
On Node 04 (your Creative node from Step 3), you can apply a LUT by right-clicking the node and selecting "LUT > 3D LUT." Many filmmakers use free LUTs provided by camera manufacturers as a starting point. Alternatively, use the Custom Curves tool to manually lift blacks slightly, pull down highlights, and shift the color balance toward a warm or cool tone depending on your brand's visual identity. This is the step in this DaVinci Resolve color grading tutorial where your footage stops looking raw and starts looking intentional. Keep your adjustments subtle unless you're going for a strong stylized look, because restraint always reads as more professional on short-form platforms.
Quick recap and next steps
You now have a complete workflow for this DaVinci Resolve color grading tutorial: organize your files, configure your project settings, run a primary correction using scopes, build out your node structure for secondaries and cleanup, match your shots for consistency, then apply a final creative look on a dedicated node. Each step feeds into the next, so skipping one creates problems that are harder to fix later.
Color grading is one piece of a larger content production system. If your footage looks polished but your hooks, pacing, and distribution strategy are still inconsistent, you'll still struggle to convert views into actual business results. That's the problem most creators and founders run into when they go it alone. If you want a full system that handles strategy, scripting, editing, and distribution for you, apply to work with SocialRevver and get a free 40+ slide social media strategy built for your brand.