
You downloaded Final Cut Pro, opened it once, stared at the interface, and closed it. Maybe twice. That timeline full of buttons and panels looks intimidating when all you want is to cut your footage together and export something watchable. A solid Final Cut Pro tutorial can change that in a single afternoon.
Here's the thing: editing speed matters more than most creators realize. The faster you can turn raw clips into polished content, the more consistently you can publish. And consistency is what separates accounts that grow from accounts that stall. At SocialRevver, we've built entire content systems around this principle, our editing pipeline processes hundreds of short-form videos monthly because we've optimized every step of the workflow.
Whether you're building your personal brand, creating content for your business, or just tired of paying someone else to cut simple videos, learning the fundamentals saves you time and money. This guide walks you through Final Cut Pro's core features, keyboard shortcuts that actually matter, and the workflow habits that separate efficient editors from everyone else. No fluff, no unnecessary theory, just the practical steps to get you editing fast.
What you need before you start
Before you open Final Cut Pro, gather your tools and materials. This isn't like Instagram where you can wing it, video editing requires actual preparation. The software runs on Mac only, so if you're on Windows, this tutorial won't help you. You'll also need enough storage space for your project files, which eat up gigabytes faster than you'd expect.
Hardware and software requirements
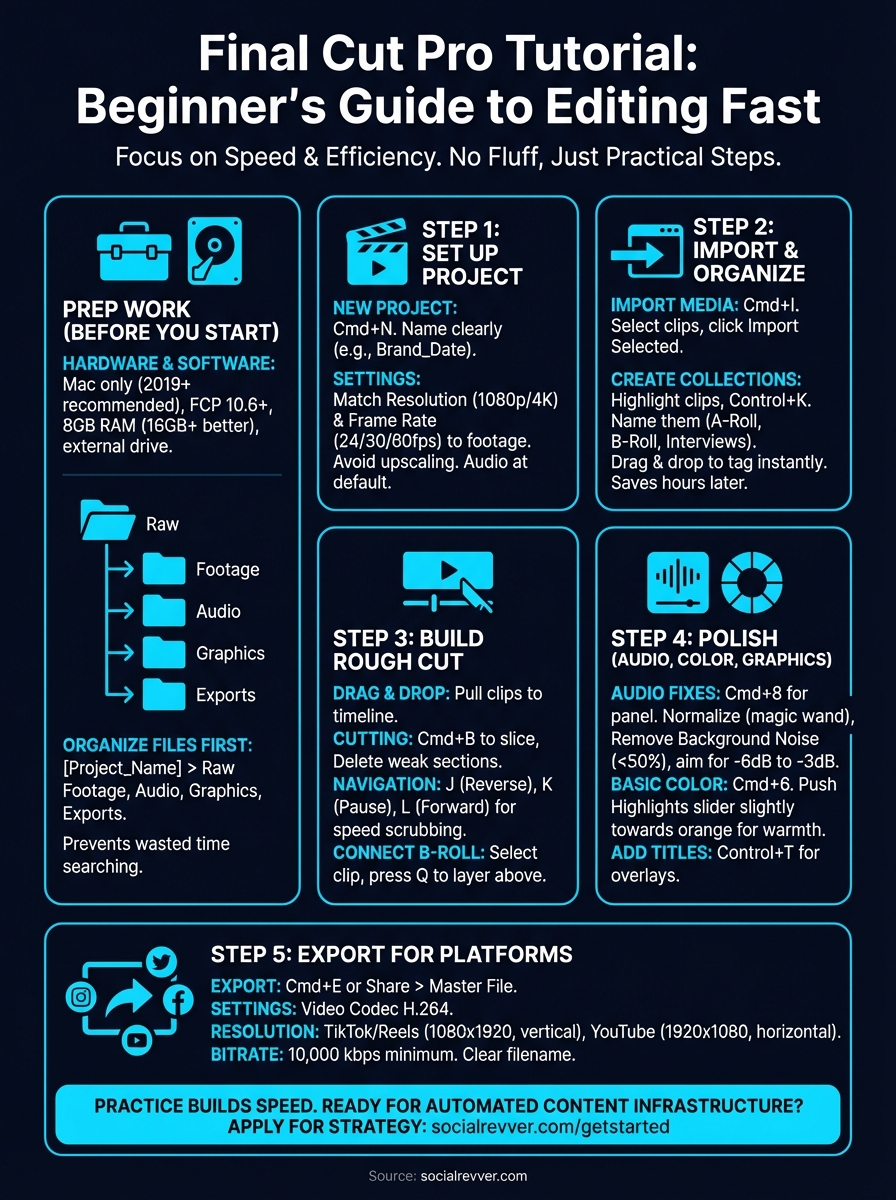
Final Cut Pro 10.6 or newer gives you the features this tutorial covers. Older versions work differently, and you'll waste time searching for buttons that don't exist. Your Mac needs at least 8GB of RAM, but 16GB or more keeps the timeline smooth when you're scrubbing through footage. An external hard drive saves your internal storage from filling up in two projects.
Check your Mac's specs before you start recording anything. A 2019 MacBook Pro or newer handles most editing tasks without lag. Older machines struggle with 4K footage and can crash mid-export, which means lost work and wasted hours.
Organize your files first
Create a dedicated folder for each project before you import anything into Final Cut Pro. Name it clearly: "Client_ProjectName_Date" works better than "New Folder 1." Inside that main folder, add subfolders for Raw Footage, Audio, Graphics, and Exports. This structure prevents the nightmare of hunting through your desktop for a missing audio file while your timeline sits frozen.
When your files are organized before you import them, you spend time editing instead of searching.
Most beginners skip this step, then spend 20 minutes looking for clips they recorded three days ago.
Step 1. Set up a clean project
Open Final Cut Pro and click File > New > Project (or press Command+N). Name your project something you'll recognize three weeks from now: "BrandName_ContentType_Date" beats "Untitled Project 47." The naming convention saves confusion when you're managing multiple projects, and future you will appreciate the clarity.
Choose the right settings
In the project settings window, match your timeline resolution to your footage. If you shot everything in 1080p, set your project to 1920x1080. Shooting 4K? Set it to 3840x2160. Don't upscale 1080p footage to 4K thinking it improves quality, it just creates larger file sizes with no visual benefit. Set your frame rate to match your source clips, typically 24fps for cinematic content, 30fps for standard video, or 60fps if you want slow-motion options.
Your project settings control everything downstream, so getting them right now prevents export headaches later.
Leave the audio settings at default unless you know you need something specific. Most creators never touch them.
Step 2. Import and organize footage fast
Press Command+I or click File > Import > Media to bring your footage into Final Cut Pro. Select your clips, then click Import Selected at the bottom right. The software copies everything into your library, which lives in your Movies folder by default. Don't import directly from your camera's SD card or you risk corrupting files mid-edit.
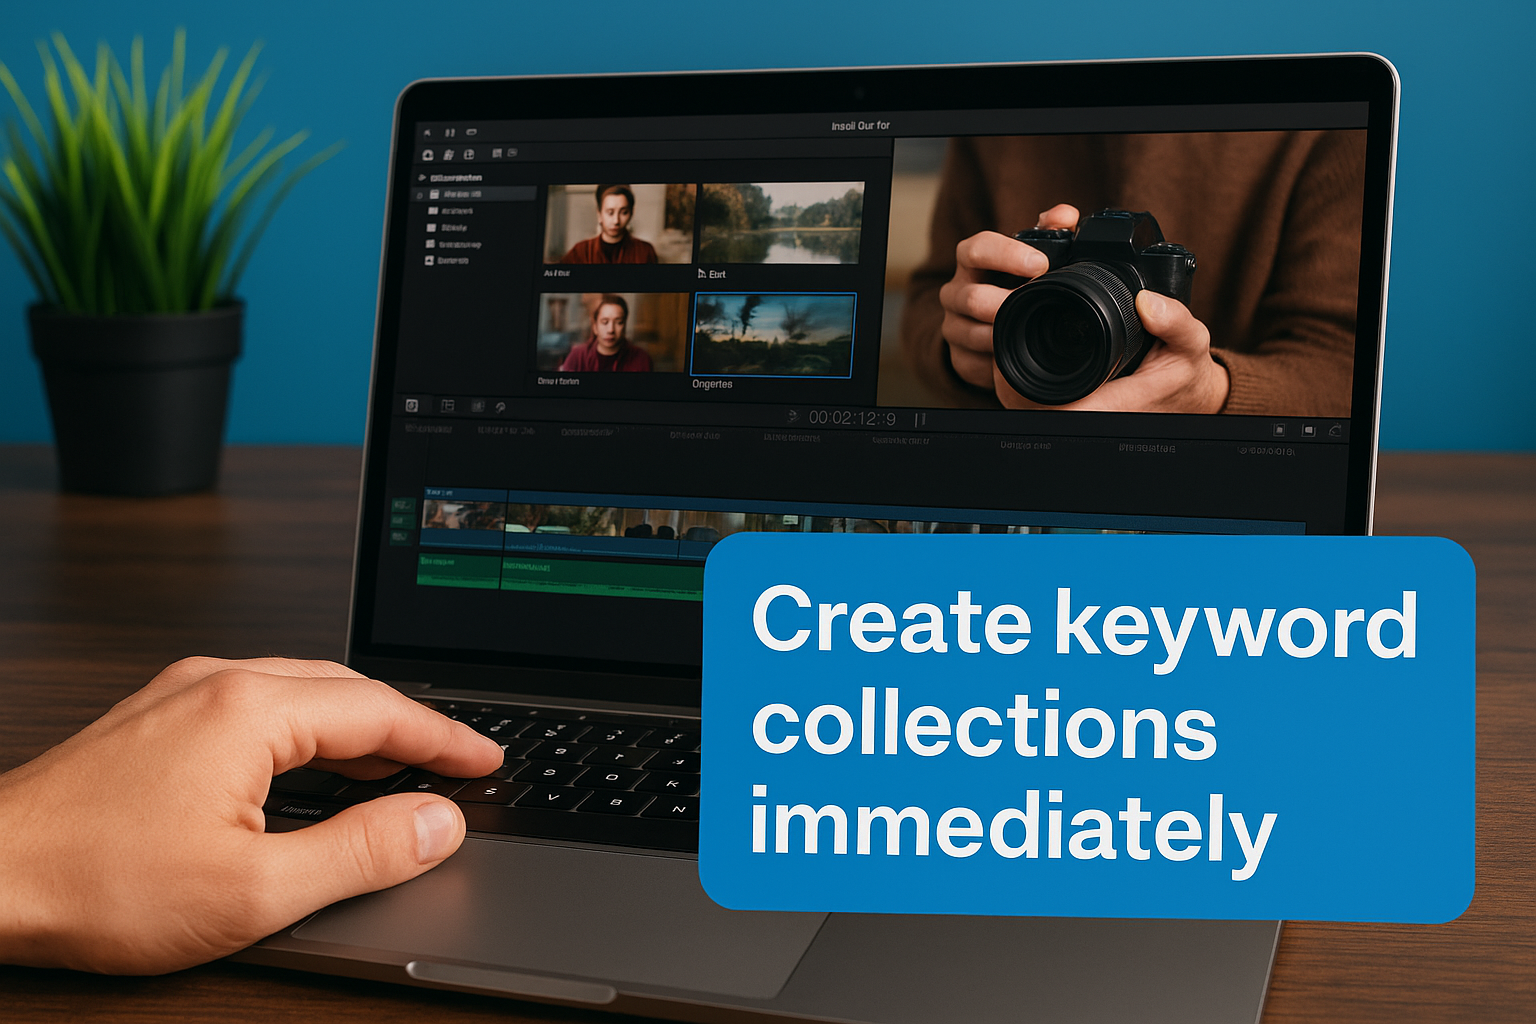
Create keyword collections immediately
Highlight your imported clips in the browser, then press Control+K to create a keyword collection. Name it based on content type: "A-Roll," "B-Roll," "Interviews," or "Graphics." This tagging system lets you filter footage instantly instead of scrolling through hundreds of clips. Drag clips into their respective collections as soon as they import, or you'll lose track of what you shot.
Organizing footage before you edit saves more time than any keyboard shortcut ever will.
Most editors skip this step and waste hours searching for specific clips later. Spending three minutes organizing now prevents thirty minutes of frustration during the actual edit.
Step 3. Build a rough cut in minutes
Drag clips from your browser directly onto the timeline (the black area at the bottom of your screen). Don't overthink which shots to use yet, just drop everything that looks remotely usable. This rough assembly shows you what footage you actually have versus what you thought you shot. Press the spacebar to play through your timeline and get a feel for pacing.
Cut on action and energy
Position your playhead where you want to cut, then press Command+B to slice the clip. Delete weak sections by selecting them and hitting Delete. Connect B-roll over talking head footage by selecting your overlay clip and pressing Q, which drops it above your main timeline without shifting everything else. This keeps your audio locked while you layer visuals.
Speed comes from making fast decisions, not perfect ones.
Scrub through your timeline using J, K, and L keys: J plays backward, K pauses, L plays forward. Pressing J or L multiple times increases playback speed, letting you review footage faster than real-time. Your rough cut doesn't need transitions or color correction yet, just get your story structure working before you polish anything.
Step 4. Polish audio, color, and graphics
Select any clip in your timeline and open the audio inspector by clicking the meter icon in the top right toolbar. Your footage probably has inconsistent volume levels that distract viewers. Drag the volume slider until your audio meters hit around -6dB to -3dB during normal speech. This range sounds clear without clipping or distorting.
Fix audio with three clicks
Press Command+8 to open the audio enhancements panel. Click the magic wand icon next to "Loudness" to normalize your levels automatically. Enable "Remove Background Noise" if you recorded in a noisy environment, but don't push the slider past 50% or your voice starts sounding robotic.
Add basic color grading
Select your clip and press Command+6 to open the color board. Click the Color tab, then push the highlights slider slightly toward warm tones (move the top circle right toward orange). This simple adjustment makes footage look more professional than flat, untouched clips.
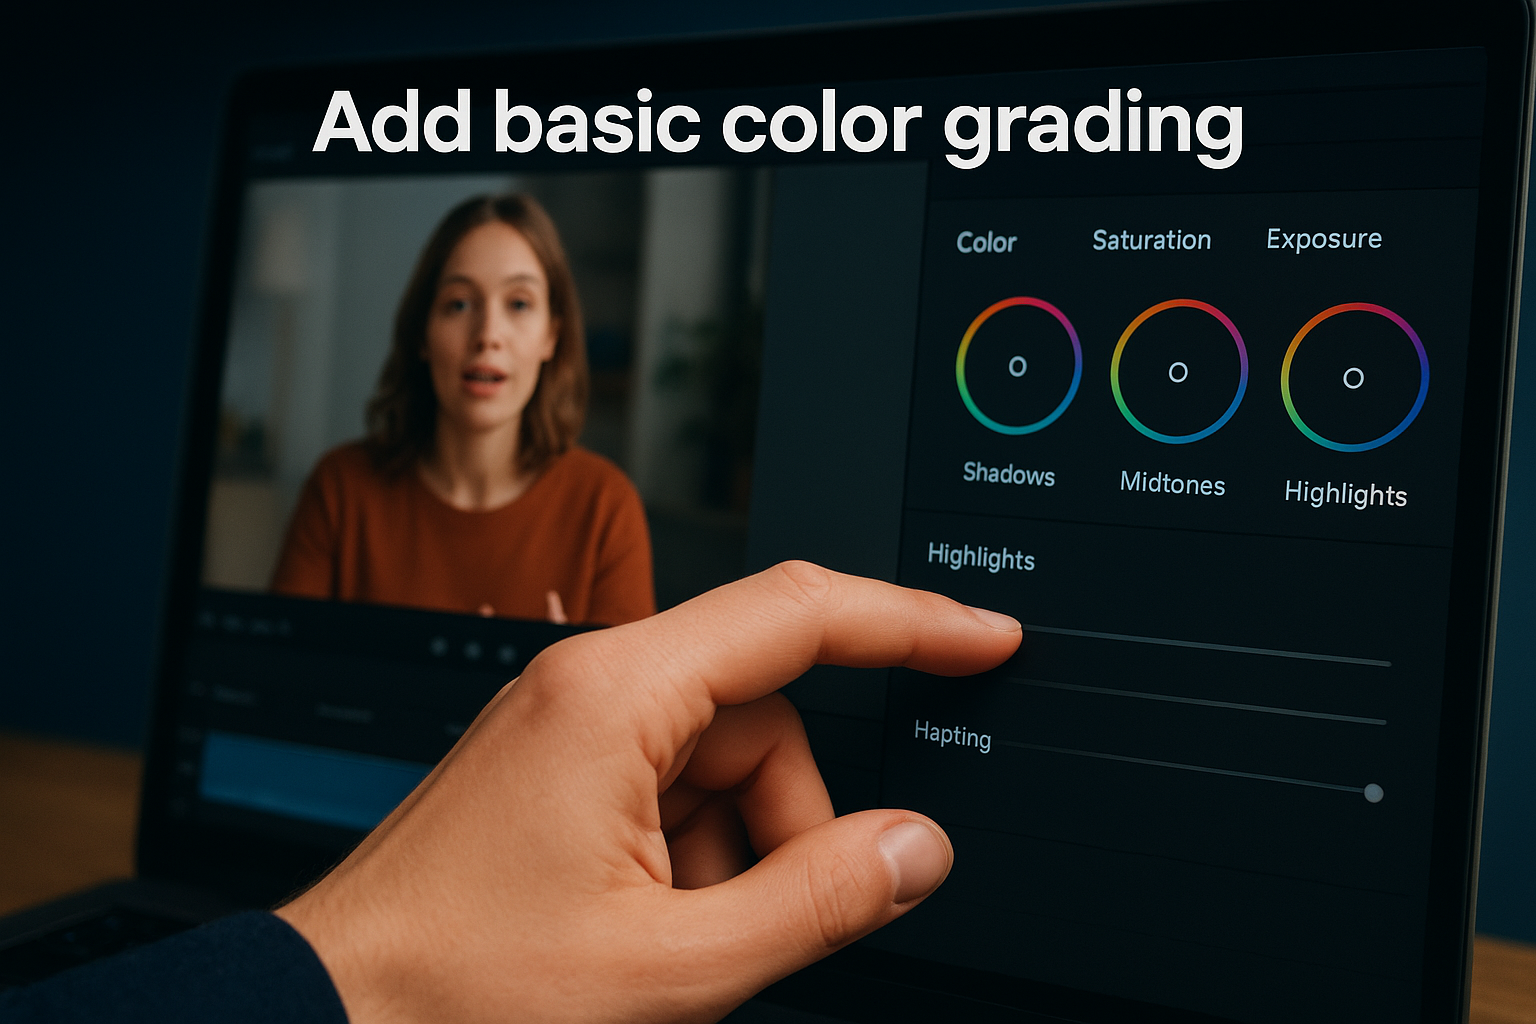
Subtle color adjustments create polish without screaming "edited."
Press Control+T to add basic lower thirds or text overlays from the titles browser.
Step 5. Export for TikTok, Reels, and YouTube
Press Command+E to open the export window, or click File > Share > Master File. Your export settings determine whether your video looks crisp or blurry on social platforms. Choose "Video Codec: H.264" for maximum compatibility across all platforms, TikTok and Instagram reject files in other formats regularly.
Set resolution and format correctly
Match your resolution to each platform's requirements: 1080x1920 (vertical) for TikTok and Reels, 1920x1080 (horizontal) for YouTube. Set your bitrate to 10,000 kbps minimum to prevent compression artifacts. Lower bitrates create pixelated videos that platforms suppress in their algorithms.
Export quality directly affects how platforms rank your content in feeds.
Name your export file clearly before hitting Save: "BrandName_Platform_Date.mp4" prevents confusion when you're uploading multiple versions. Most creators in this final cut pro tutorial skip proper export settings and wonder why their videos look worse than competitors' content. Click Save, wait for the progress bar to finish, then upload within 24 hours while your content stays relevant.
Next steps
You just learned the core workflow that professional editors use daily. This final cut pro tutorial covered project setup, import organization, rough cutting, polishing, and platform-specific exports. Most beginners waste weeks figuring out these basics through trial and error, you condensed it into one read.
Practice builds speed faster than theory ever will. Open Final Cut Pro right now and edit something simple: a 30-second clip, a quick transition test, or raw footage sitting on your phone. Your first three edits will feel slow and clunky. Your tenth edit moves twice as fast. By edit twenty, you'll stop thinking about buttons and start thinking about story.
Building a consistent content system requires more than just editing skills. SocialRevver turns raw footage into a predictable growth engine using the same principles you learned here, scaled through machine learning and behavioral science. If you're ready to move from manual editing to automated content infrastructure, apply for a free 40+ slide social media strategy and see how professionals structure attention at scale.