
Nothing kills a good video faster than audio that's a half-second off. Whether you recorded voice on a separate mic, pulled audio from a different source, or your editing software just decided to misbehave, learning how to sync audio and video properly is one of those non-negotiable production skills. The problem looks small until you're scrubbing frame by frame at 2 AM trying to match a mouth movement to a word.
At SocialRevver, our editing pipeline processes thousands of short-form clips, and tight audio-video sync is foundational to every single one. Drift by even a few frames and retention drops, because viewers feel the disconnect before they can name it. We've tested this across hundreds of thousands of videos, sync quality directly affects performance.
This guide walks you through the fastest, most reliable methods to sync audio and video in any major editor. You'll get manual techniques, software-based automatic sync options, and the specific workflows that professional editors actually use when deadlines are tight and precision matters.
What you need before you sync
Before you touch a single timeline, getting organized saves you far more time than any sync method will. The difference between a smooth session and an hour of frustration usually comes down to what you prepared before you hit record. Understanding how to sync audio and video starts before the edit, not during it.
Your recording setup
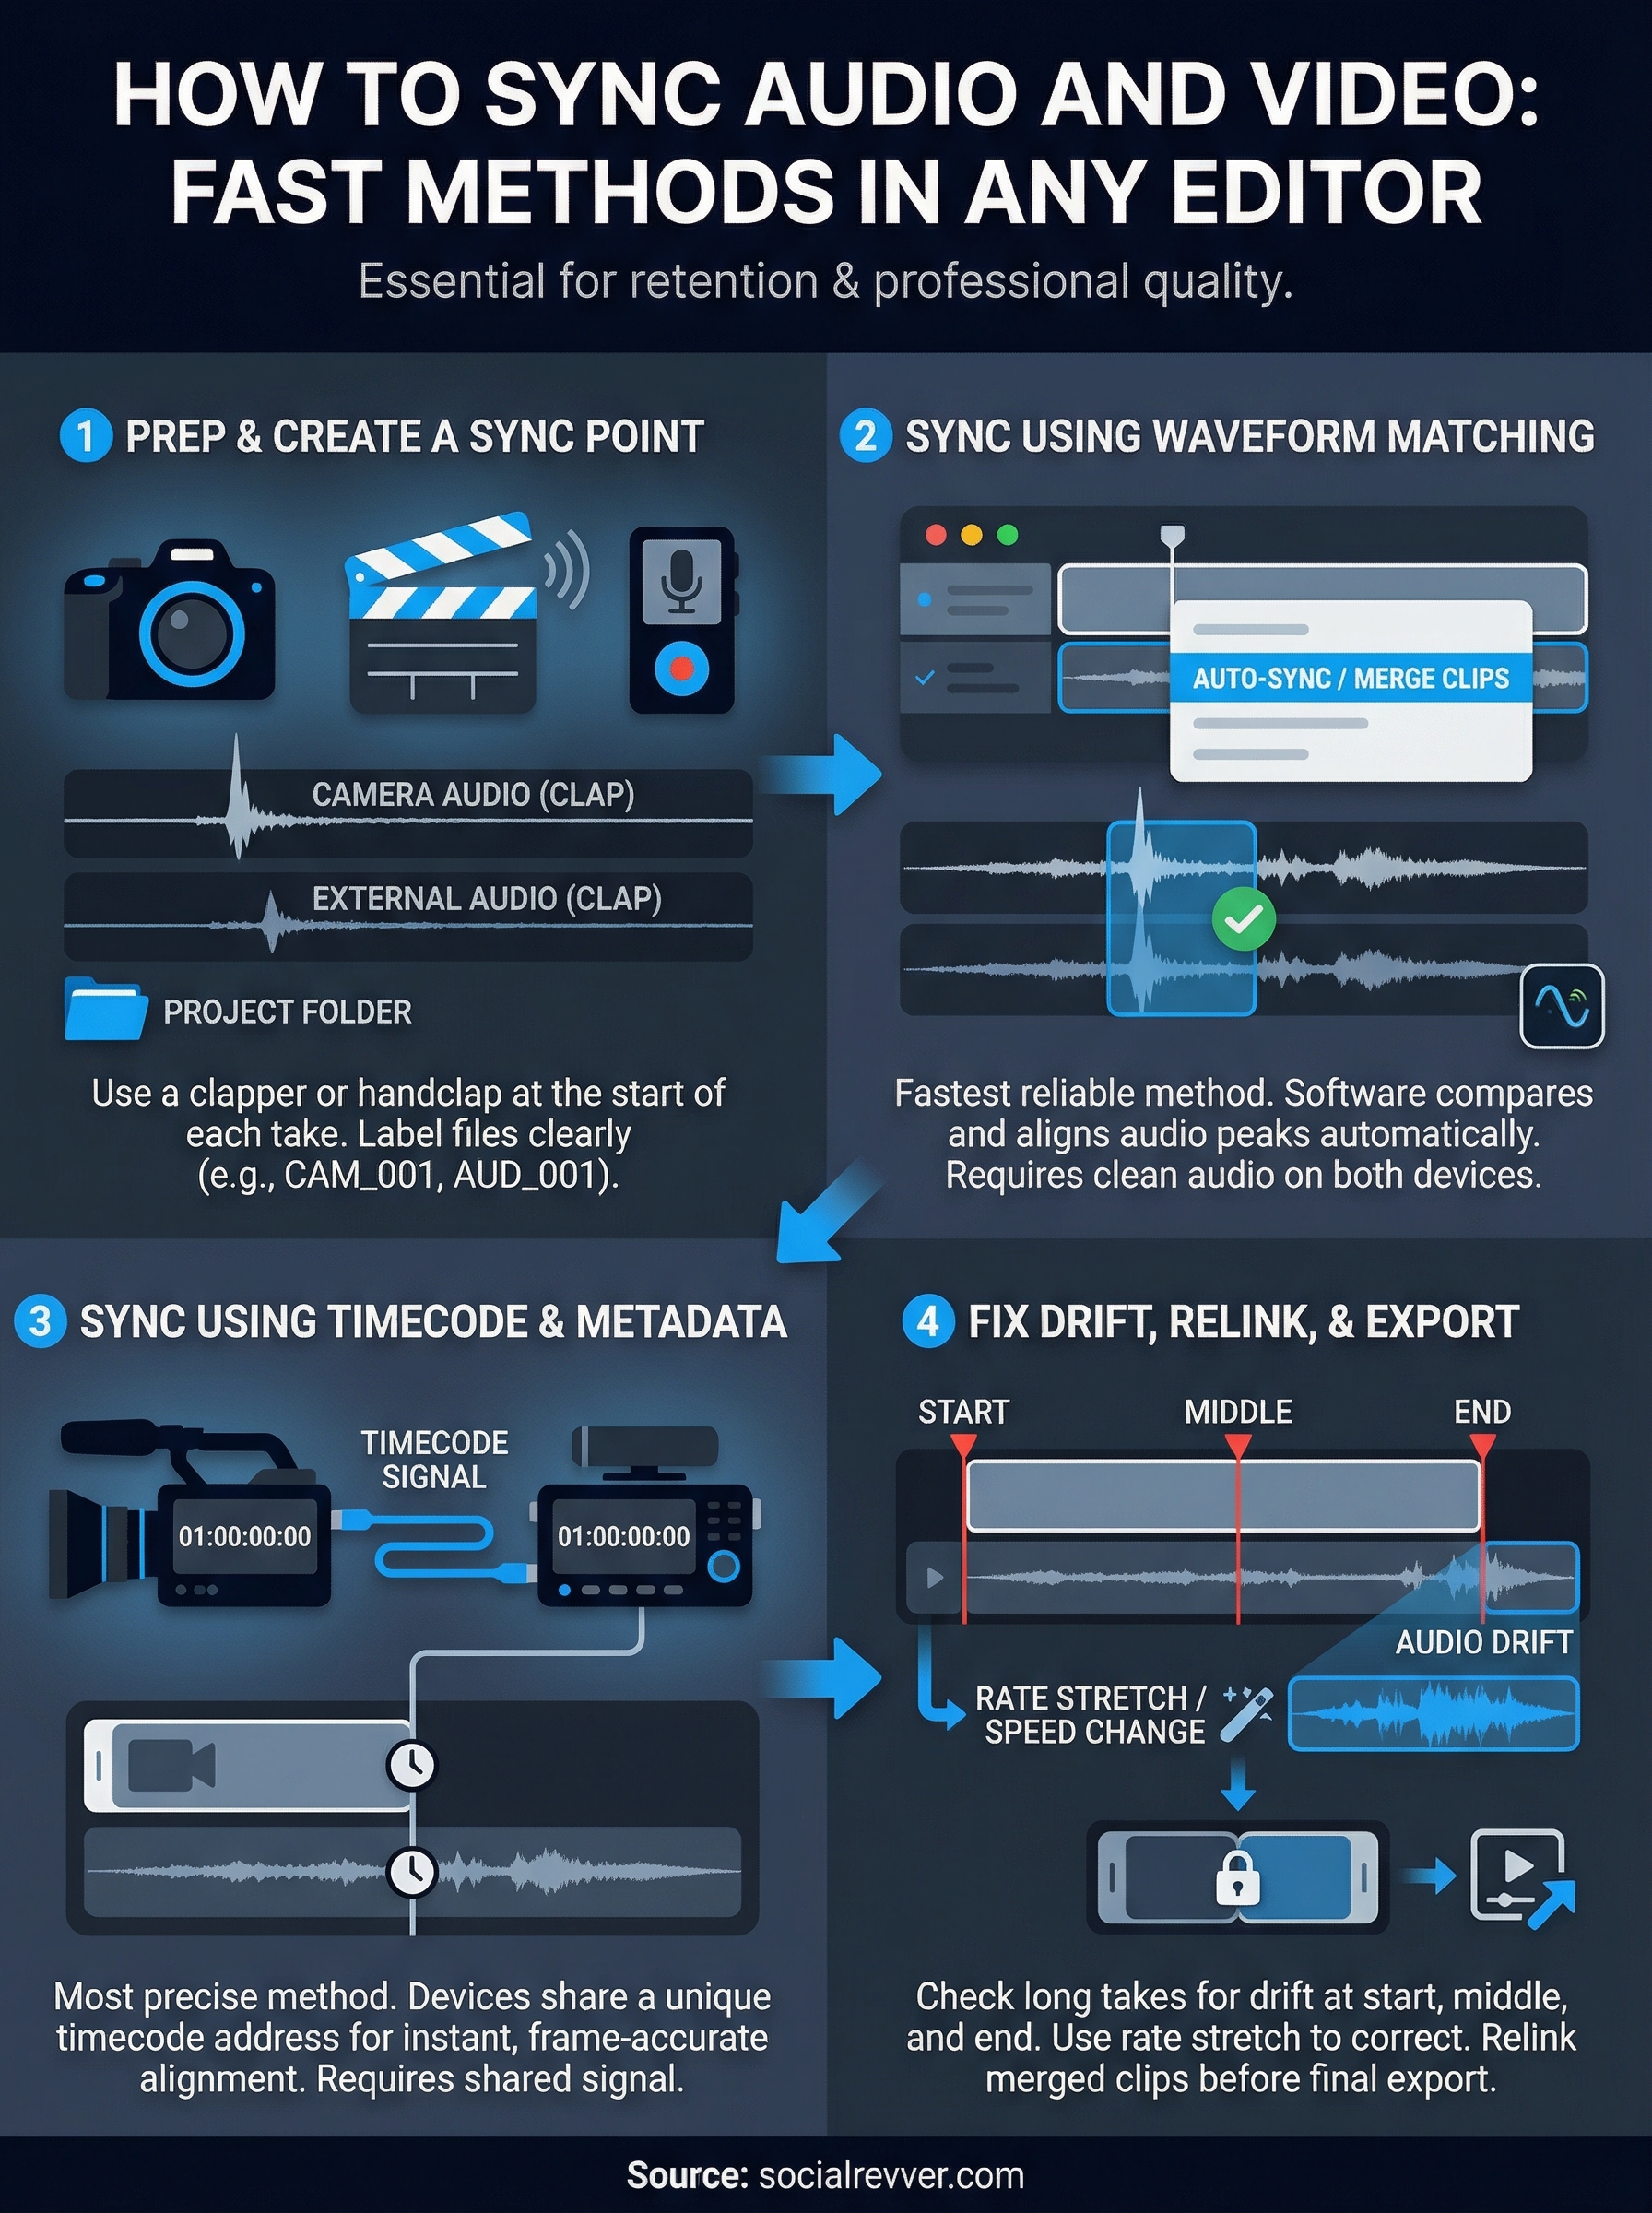
Your production gear determines which sync method you'll use. If you recorded audio on a separate device, such as a Zoom recorder, a dedicated mic into an audio interface, or a lavalier running into a bodypack transmitter, you need a clear sync point on both devices. The most reliable sync point is a clapper board, also called a slate. Clap it at the start of each take, and that sharp transient gives both your camera and your audio recorder a visible spike paired with a clear visual frame to match.
If you don't own a clapper board, use your hands: clap once, clearly, in frame, at the very start of every take.
No sync point means no fast sync. Without one, you're matching audio manually by listening and scrubbing frame by frame, which turns a five-minute job into a thirty-minute one.
Software requirements
Your editing software needs to support multi-track timelines and, ideally, automatic waveform-based sync. Below is a quick reference for what the most common editors offer out of the box:
| Editor | Auto-Sync Feature | Best Sync Method |
|---|---|---|
| DaVinci Resolve | Yes (Auto-Align) | Waveform + Timecode |
| Adobe Premiere Pro | Yes (Merge Clips) | Waveform |
| Final Cut Pro | Yes (Synchronize Clips) | Waveform |
| CapCut Desktop | No | Manual waveform |
Check your editor's current version before you start. Auto-sync features sometimes only exist in paid tiers or recent updates, and discovering that mid-session costs you time you don't have.
Step 1. Prep clips and create a sync point
Gather all your clips into one project folder before opening your editor. Mixing camera and audio files from scattered locations mid-session creates version confusion that compounds quickly as your project grows. Getting organized at this stage cuts your actual sync time in half.
Organize and label your files
Clear file naming keeps your timeline readable from the start. Use a consistent naming convention so you always know which camera take pairs with which audio recording at a glance.
CAM_001,CAM_002for camera takesAUD_001,AUD_002for audio recordings- Bin each group separately inside your editor before placing anything on a timeline
Keeping camera and audio bins separate prevents you from accidentally dragging the wrong file when you start matching takes.
Create your sync marker
Your sync point is the specific frame and waveform spike that gives both tracks a shared reference. Scrub your camera footage forward until you see the clapper fully closed, then drop a marker on that exact frame. On your audio file, locate the sharp transient spike from that same clap.
A hard clap creates a near-vertical spike in the waveform. A soft clap creates a gradual rise that is much harder to pin precisely, so re-clap if you see that.
Mark both points before moving to any automatic step. This is the foundation of how to sync audio and video accurately, regardless of which editor you use.
Step 2. Sync using waveform matching
Waveform matching is the fastest reliable method for most editors. Your editing software compares the audio peaks in both your camera's built-in mic track and your external recording, then locks them together automatically. The key requirement is that both files captured the same sound, which is exactly why you clapped at the start of every take.
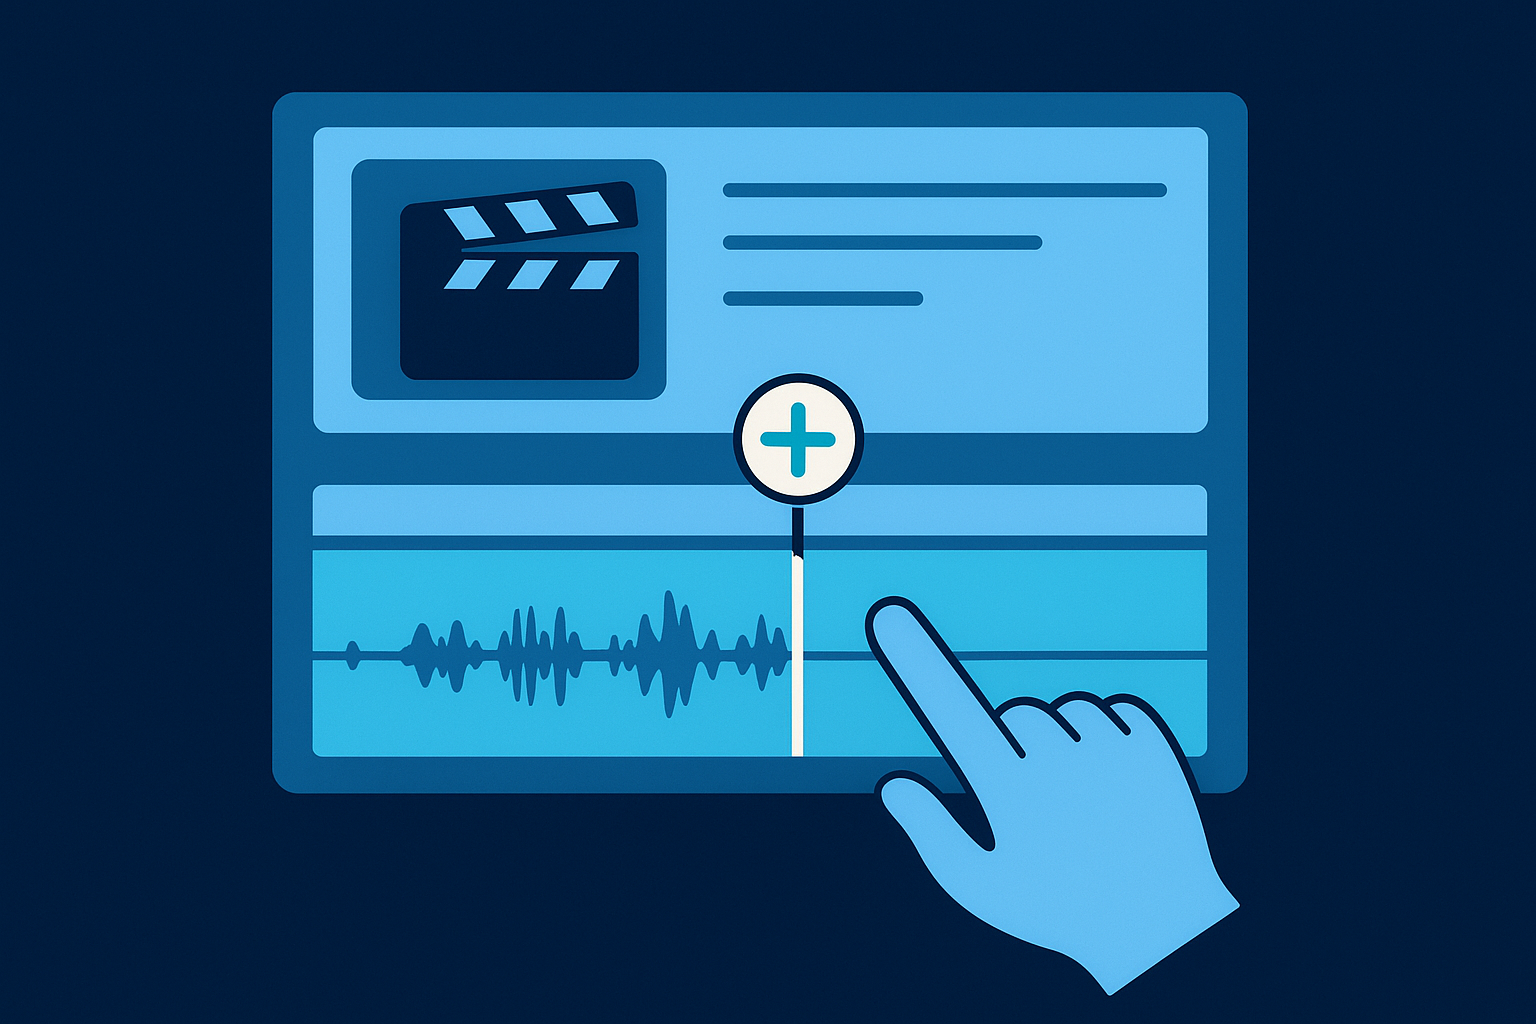
Running auto-sync in your editor
Each editor handles this slightly differently, but the core workflow stays consistent across all major platforms. Select your camera clip and your external audio file together, right-click, and look for the sync option. In Premiere Pro, it's called Merge Clips. In DaVinci Resolve, use Auto-Align. In Final Cut Pro, select both and choose Synchronize Clips from the Clip menu.
Always confirm the result by playing back a section where the subject speaks. If the lips don't match the audio, the clap transient was too soft for the software to read accurately.
Follow this sequence to keep the process repeatable when you need to know how to sync audio and video quickly using waveforms:
- Select both the camera clip and the external audio file
- Right-click and choose your editor's merge or sync command
- Set the sync point to "Audio" in the dialog box
- Confirm the merged clip appears in your bin before placing it on the timeline
Step 3. Sync using timecode and metadata
Timecode sync is the most precise method available when you recorded audio on a device that generates its own timecode signal. Cameras like the Sony FX3 and recorders like the Sound Devices MixPre series embed matching timecode into their files, letting your editor align everything automatically without any waveform comparison.
What timecode does
Timecode assigns a unique address to every frame of your footage and every audio sample recorded at the same moment. When your camera and recorder share the same timecode signal through a cable or a wireless sync box, the editor reads those addresses and locks the files together instantly. This is the cleanest approach for how to sync audio and video across multi-camera shoots with many takes.
Timecode sync requires both devices to share a source signal before you record, so you cannot apply it retroactively after the session ends.
Reading timecode in your editor
DaVinci Resolve and Premiere Pro both read embedded timecode automatically on import. Select your camera clip and audio file together, right-click, and choose your sync command. Set the method to Timecode in the dialog, and your merged clip appears in your bin, frame-accurate.
Follow this sequence in either editor:
- Import all clips into one bin
- Select camera and audio files together
- Right-click and choose Merge Clips (Premiere) or Auto-Align (Resolve)
- Set the sync method to Timecode
- Confirm the merged clip is in your bin before you edit
Step 4. Fix drift, relink, and export
Even after a successful auto-sync, audio drift can appear on longer takes. Drift happens when your camera and recorder run on slightly different internal clocks, causing alignment to creep gradually over time. A clip that starts perfectly synced can be off by several frames before a ten-minute recording finishes.
Identify and correct drift
Open your synced clip on the timeline and scrub to at least three points: the start, the middle, and the end. If the end drifts while the start holds, your audio and video clocks diverged during recording. Use your editor's rate adjust or audio stretch tool to compress or extend the audio track until it stays aligned across the full duration.
DaVinci Resolve's Speed Change tool and Premiere Pro's Rate Stretch tool both adjust audio duration without altering pitch, so your voice stays natural while the timing corrects.
Relink and export your final file
Once you correct drift, relink your merged clips to the project's media pool before export to prevent any missing file warnings from breaking your render. This is the final checkpoint in how to sync audio and video correctly, from capture all the way to delivery. Match your export settings to your sequence specifications, pick your delivery format, and render.
A clean sync every time
Knowing how to sync audio and video is a skill that compounds with every project you complete. Every method in this guide works when you apply it consistently: use a clapper, organize your files before you open your editor, run waveform or timecode sync, and check for drift at the start, middle, and end of every clip. Skipping any one of those steps is where most sync problems actually begin, not in the software.
Your editor handles the technical heavy lifting once you give it clean inputs. The real bottleneck is production discipline: consistent file naming, reliable sync points, and a repeatable export workflow. Get those habits locked in and tight sync becomes the baseline, not the exception.
If you want a content production system built around this kind of precision from capture to distribution, apply to work with our team and get a free 40+ slide social media strategy built for your brand.